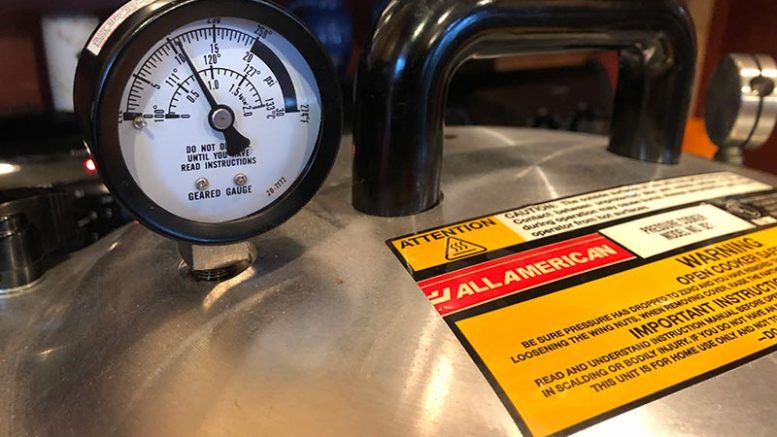
Thinking of creative ways to butcher, process, and store large amounts of wild game can be a daunting task, especially if freezer space is short. The heyday of canning may be in the past, but it remains an underrated way to store meat on the shelf. While some may be hesitant to use a pressure canner, it’s actually a very safe, simple and effective way to tenderize and store meat so it can be later used in any number of recipes.
Why Pressure Canning and What You Need
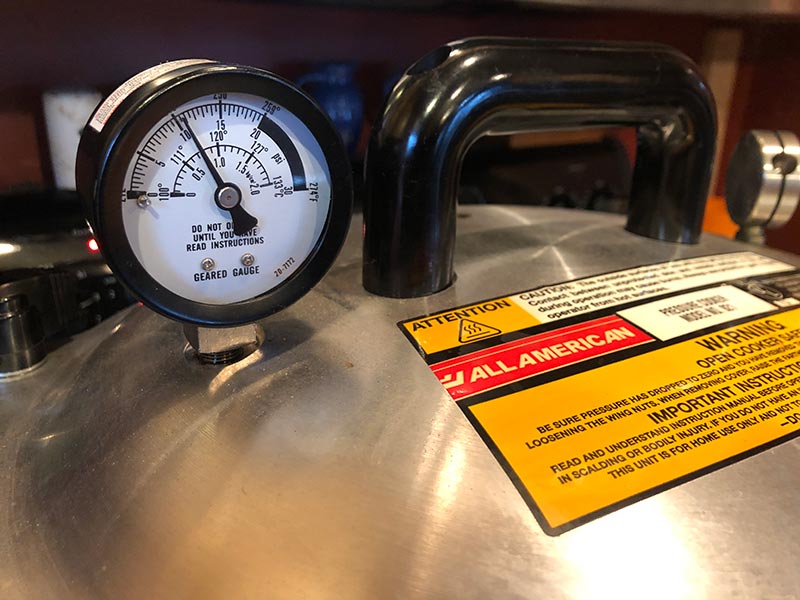
Any good pressure canner must have a pressure gauge, so you know when things are up to pressure. (Photo: Kristin Alberts/Guns.com)
All you need to safely and simply can raw meat is a pressure canner, glass jars, lids, rings, the meat of your choice and canning/pickling salt. Though most pressure canners will work, I prefer the heavy-built All-American Pressure Canners. As a caveat, my grandparents used to can meat in either a hot water bath or the oven, but pressure canning is now the only USDA suggested way to preserve low-acid foods like meat, chicken, and fish.
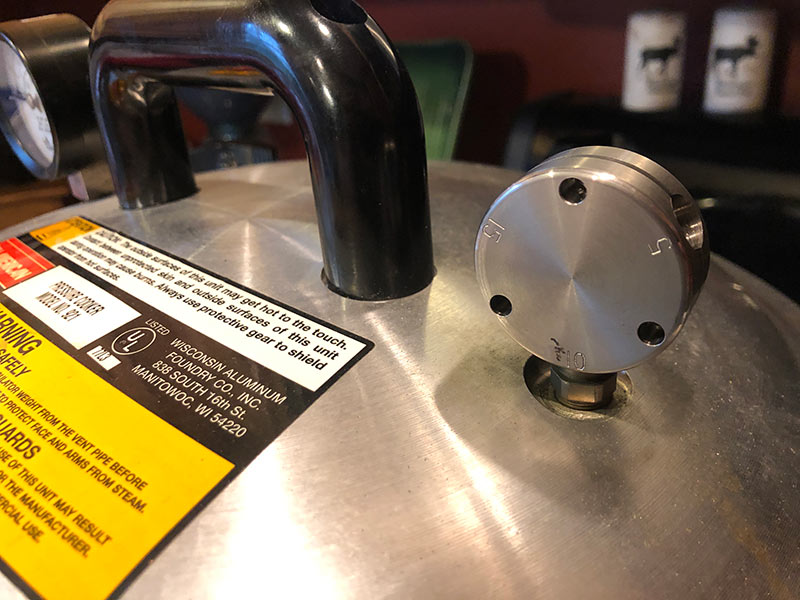
This regulated weight helps maintain the proper pressure safely. (Photo: Kristin Alberts/Guns.com)
Start by preparing all your equipment. The canner should be used according to the manufacturer’s instructions. In my case, I add 2 inches of water to the canner along with the jar rack. Use only name-brand canning jars to ensure they safely withstand the heat and pressure. Before filling, the jars should be sterilized, which can be done by running through a dishwasher on the sterilize/high heat setting or washed by hand and then submerged in boiling water.
Meat, Meat, Meat!
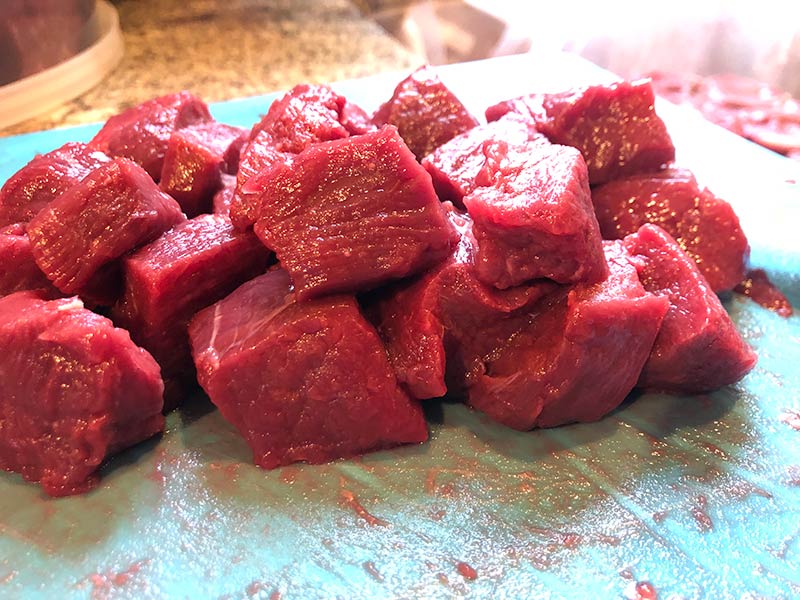
Cube the meat to be canned. Even the toughest cuts of meat will tenderize in the pressure canner. (Photo: Kristin Alberts/Guns.com)
With sundries in order, it’s time to get down to the meat business. Canning works well with either fresh or frozen—and at least partially thawed—meat. The type of red meat doesn’t matter, and I’ve used venison, Elk, Bison, Water Buffalo and even beef. When hunting seasons get busy and butchery happens quickly, I often opt to freeze whole boned quarters of Whitetail, then thaw and cube them for canning later.
Whatever your choice, your chosen meat should be clean, free of large pieces of fat or gristle and cut into approximately 1 inch to 2-inch cubes. Be aware, the meat will be under high pressure and temperature for an extended time in the canner so smaller pieces are likely to fall apart. On the upside, even the toughest pieces of meat become tender and succulent in the jar.
Canning Time!
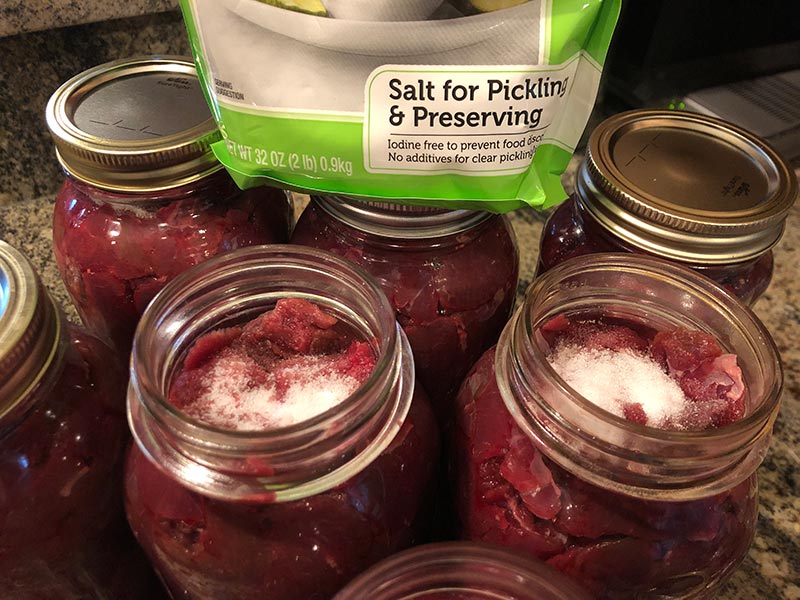
Add preserving salt to each jar before canning. Nothing else needs to be added. (Photo: Kristin Alberts/Guns.com)
With the gear prepped and meat cut, it’s time to get down to business! Pack the raw meat into the jars, allowing 1 inch of headspace at the top of the jar. Pack the meat well so as not to allow air pockets, which can lead to spoilage. Use a small wood or plastic spatula to push the meat down into any voids in the jar.
While other recipes call for adding seasonings, onions, garlic, or the like, I prefer to can the meat very simply, adding only Preserving Salt. Sprinkle this specialized salt over the meat, adding 1 teaspoon to quarts or a half-teaspoon to pints.
There’s also no need—and is not recommended—to either pre-cook the meat or add liquid. The meat generates its own juices during the cooking process, will be completely cooked, and it’s safer and easier to season and add things like onions when the jar is opened and meat is used, otherwise those things can get mushy and rather unpleasant.
With the jars filled, wipe any drips from the rim. Though it may not be necessary, I opt to warm the new lids in a small pan of water on the stove before putting them on the jar. This both softens the seal and prevents any bacteria introduction on the lid itself. Screw the lids to finger tight, lower them into the water, and get that canner going.
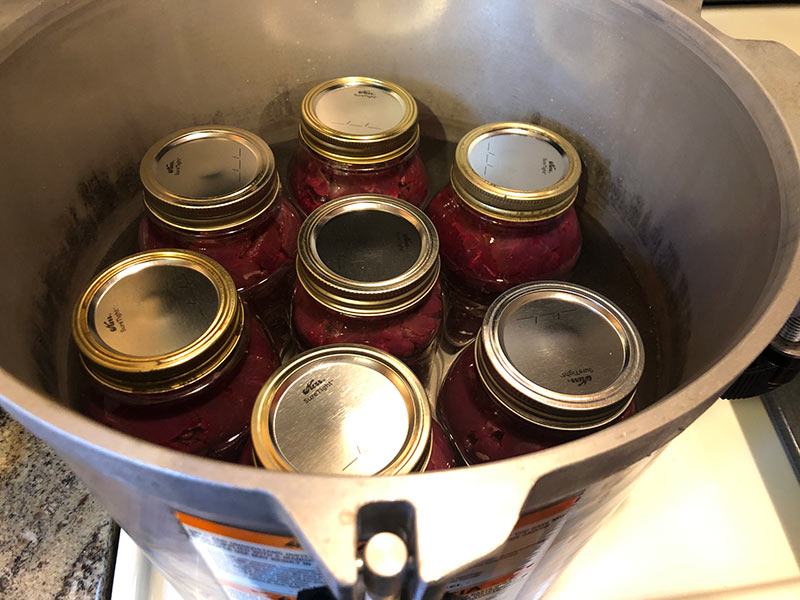
Jars packed with meat in the canner, ready to begin the process. (Photo: Kristin Alberts/Guns.com)
This is where you’ll want to follow the instructions for your particular canner. Mine needs to vent for several minutes before placing the regulator weight over the vent hole. Just be sure you don’t start timing the cooking until the canner has reached the desired 10 pounds of pressure, which should be adjusted accordingly for those at high elevation.
Our particular All-American pressure canner holds seven quart jars or 19 pint jars. I process the quarts at 10 pounds of pressure for 90 minutes and pints at the same pressure for 60 minutes. When the timer sounds, again follow the manufacturer’s suggestions for ensuring the canner has depressurized before removing the lid. It is then safe to use a jar lifter to move the still incredibly hot jars to a towel on the counter. I like to drape a kitchen towel over the jars to allow them to cool more slowly.
Within a half-hour, you’ll begin to hear that wonderful pinging sound of sealing jars, signifying properly canned meat. Though all canned foods should be inspected before use, canned meat can be stored on the shelf—preferably in a cool, dark place—for up to five years. Be sure to label each jar before storage.
Enjoy!
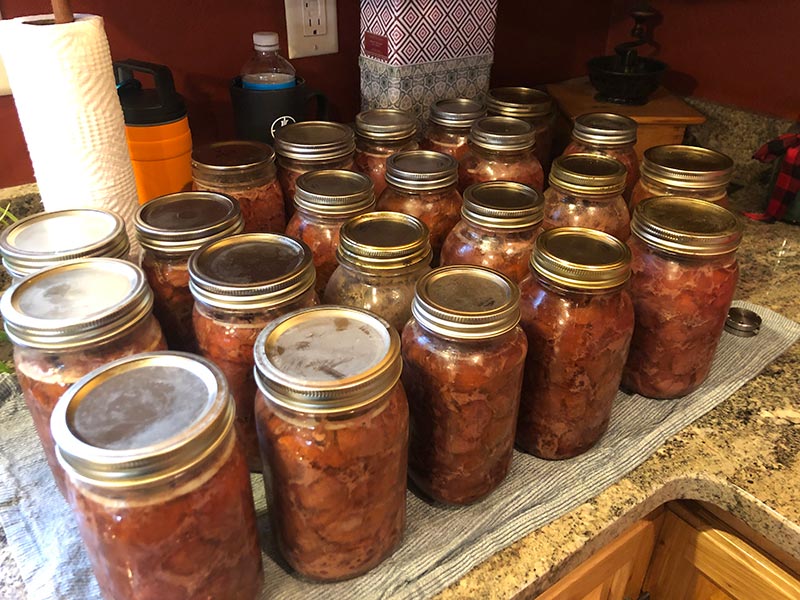
The finished product! Quart jars out of the canner, sealed, and just needing a wipe-down and labeling before storing in the cellar. (Photo: Kristin Alberts/Guns.com
Canned meat can be opened anytime and reheated for a quick meal by itself. Sauté onion and some garlic, add the meat and supper can be ready in minutes. I also enjoy using canned meat as a base for fast stews, soups, casseroles and a companion to pour over mashed potatoes, rice or wide egg noodles. Shelf-stable canned meat travels well for camping and hunting trips, requiring neither refrigeration nor work to prepare.
The post Wild Game Recipes: Pressure Canning Wild Meat appeared first on Guns.com.
Powered by WPeMatico

